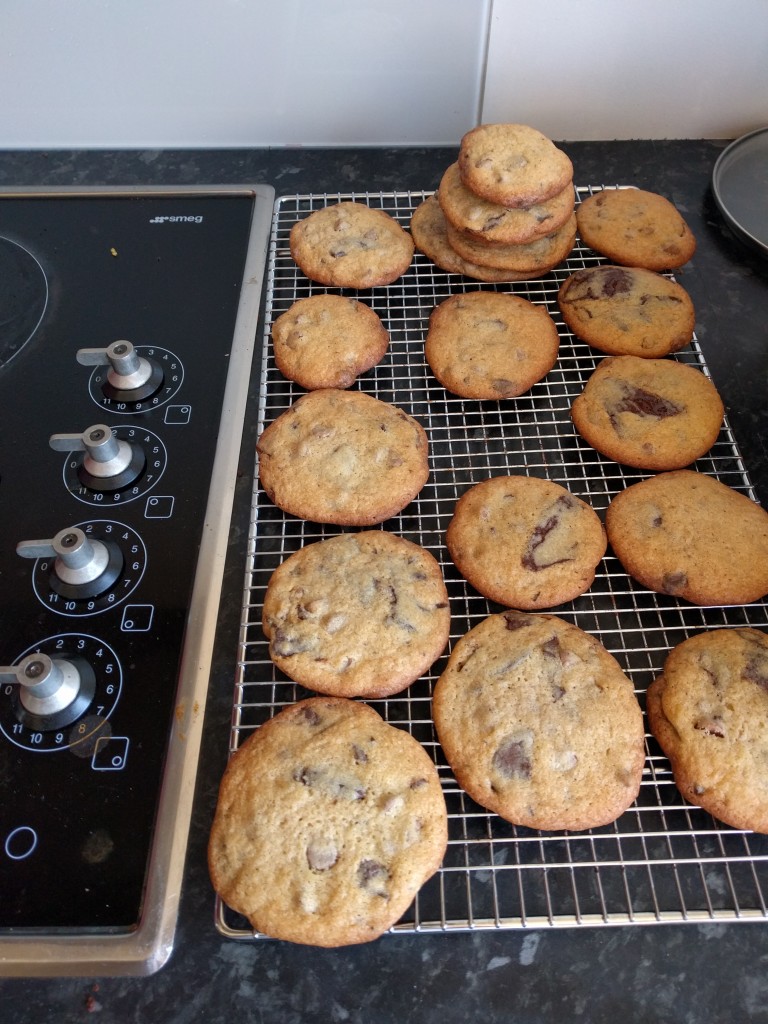
Not too long ago I was talking with a friend about nothing in particular and over the course of the conversation I discovered that they had never baked a cookie. Never. Not once. Not even the stuff that comes in a tube and you squeeze onto a sheet. Not with a parent, grand parent, step parent trying awkwardly to bond. They never did it in school or a youth group. Not even at three in the morning in a dormitory kitchen. And as far as I could tell there was no reason why this should have been. They didn’t come from an impoverished broken home. They weren’t home schooled by anti-sugar religious weirdos. There were no physical limitations that would have prevented them from baking. They grew up what could have been considered comfortably white middle class.
This made me quite sad. Cookie baking was something I did with my grandmother on cold weekends. There would be batches of cookies with my mother during the holidays. Charity bake sales. My public high school even managed to put together a couple weeks of home-ec that included baking cookies. It’s a fun thing to do. I happen to be pretty good at it.
The conversation with my friend left me wondering how many people out there have never baked cookies and I have the unpleasant feeling that the answer might be quite a few. If I add in the number of people who have simply squeezed goo from a plastic tube and called it baking that number I’m sure becomes depressingly large.
So gather round boys, girls, and others, Auntie Ada is going to talk about cookies.
So why even make cookies at home when you can just go out and buy a cookie, or a lot of them? Because you are making them, not buying them, that’s a thing in itself. People used to make everything and if they couldn’t make something they lived only a couple shacks down from a person who could. If you wanted something other than the ground to sit on you needed to be willing to hack down a tree or dig up some flat rocks. And people were willing. That has changed slowly over the last few centuries as communities have grown and people have specialized but even a couple of generations ago people (read women) were still expected to be able to make a few things. Dresses for church, cakes for birthdays, sweaters and preserves for winter. Grab your favourite, sociology, anthropology, economics, or gender studies book to decide why formally necessary skills are now considered hobbies, or worse, fads. You’d probably get in a bit of trouble if you went outside and cut down the nearest tree if you needed a chair but you shouldn’t get too many complaints about cookies so let’s start there.
There are a million different kinds of cookies out there and we could start with something really simple like an Afghan Biscuit which has all of five ingredients (six if you count the frosting) but screw that. We’re going to go for the king, the chocolate chip cookie. Baking it will also teach you several universally handy techniques.
If you want a pretty good chocolate chip cookie go down to the store and buy a bag of Nestlé Toll House chocolate chips and read the directions on the back. Yes Nestle is a big evil corporation but they’ve been flogging chocolate chips for sixty years, the recipe is pretty solid at this point.
But we don’t want a pretty good cookie we want a Damn Fucking Right That’s a Good Cookie cookie. Here’s what you’re going to need.
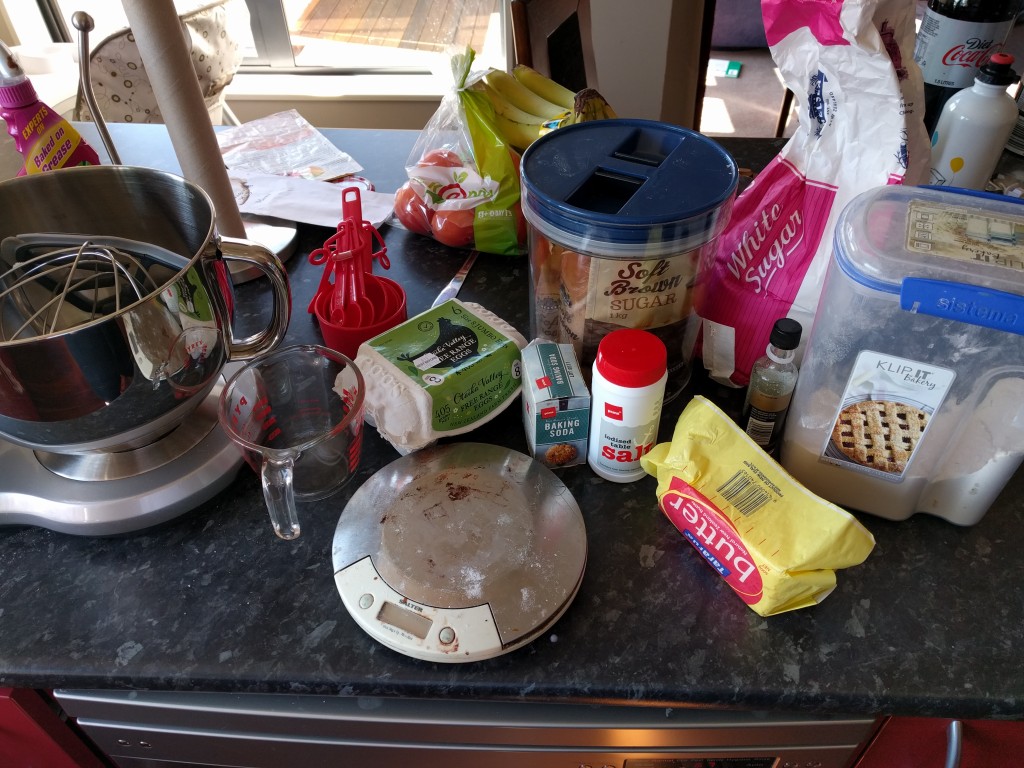
Ingredients
4oz/113grams unsalted butter at room temperature
1/4 cup plus 2 tablespoons granulated sugar
1/4 cup plus 2 tablespoons packed brown sugar
1 large egg
1/2 teaspoon vanilla extract or paste
5oz/142grams All-Purpose Flour
1/2 teaspoon baking soda
1/2 teaspoon salt
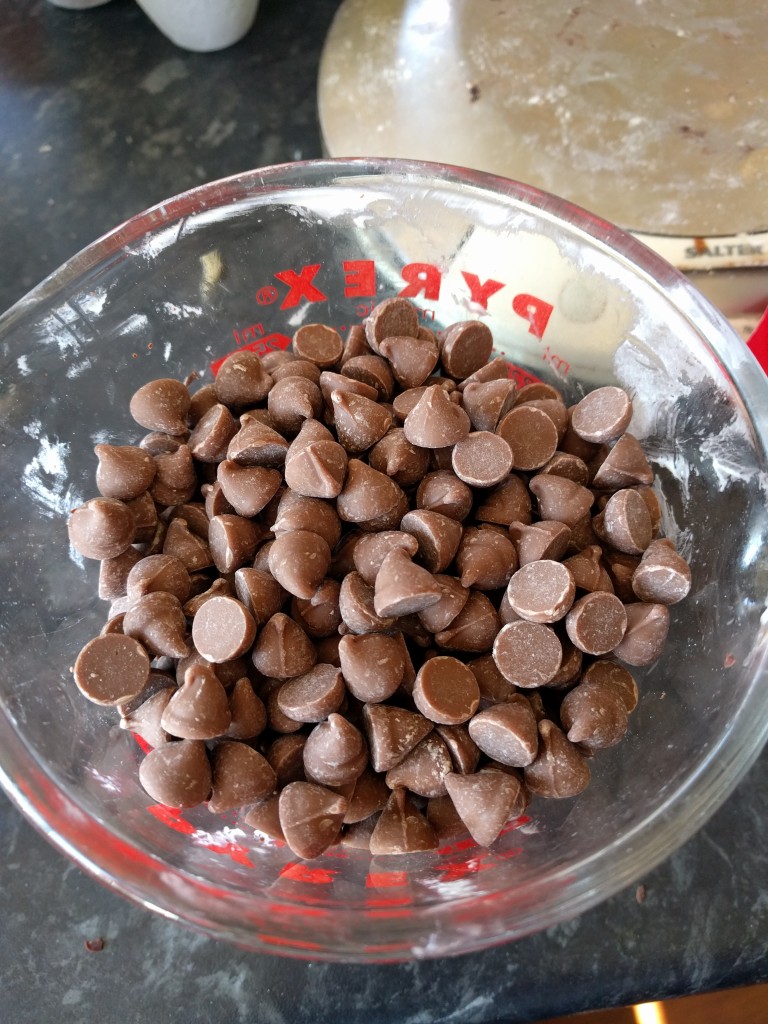
1 cup chocolate chips
Equipment
Mixer – Stand or handheld. Stand is cleaner. Yes you can mix it all with a spoon but it’s a lot more work
Kitchen scale
Rubber spatula or bowl scraper
Measuring cups
Measuring spoons
Baking sheet
Cooling rack
Baking paper or Parchment paper
An oven that can go up to 350F/176C
Let’s talk about the ingredients before we get on to the techniques.
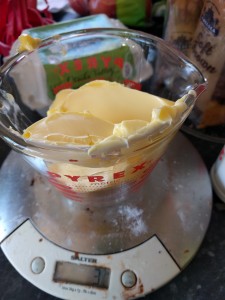
Butter. Yummmm. Butter. This calls for unsalted butter at room temperature. This means the butter should be soft enough that you can stick your finger through it (don’t) but not so soft that it’s wobbly or liquid. If your butter is cold then put it in a warm spot in the house and go do something else for a while. Don’t try to use cold butter. It will clump, it won’t mix with the other ingredients correctly, you can fuck up your mixers, and it will change the temperature of the batter effecting how the cookies bake. It might be tempting to toss the butter in the microwave and just melt it but don’t. In doing that you begin to break down the fat and protein molecules in the butter altering how they will bond to the sugar and starches. You get a very weird flat cookie out the other end. The salted v unsalted butter is not a huge deal at this level but if you’re making jumbo batches that little bit of extra salt can start changing things.
Why did I give you the measurement in weights? Because it’s hard to accurately measure out a volume of butter in a spoon or cup. There are air pockets you can’t see, it’s messy, and the little measure lines on butter wrappers aren’t as accurate as you’d like. Weighing gets you a much better result. If you live in a country where butter is sold in sticks 4oz is usually a stick.
Granulated sugar. This is the regular white sugar. Do Not Use Powdered Sugar. That is a completely different beast.
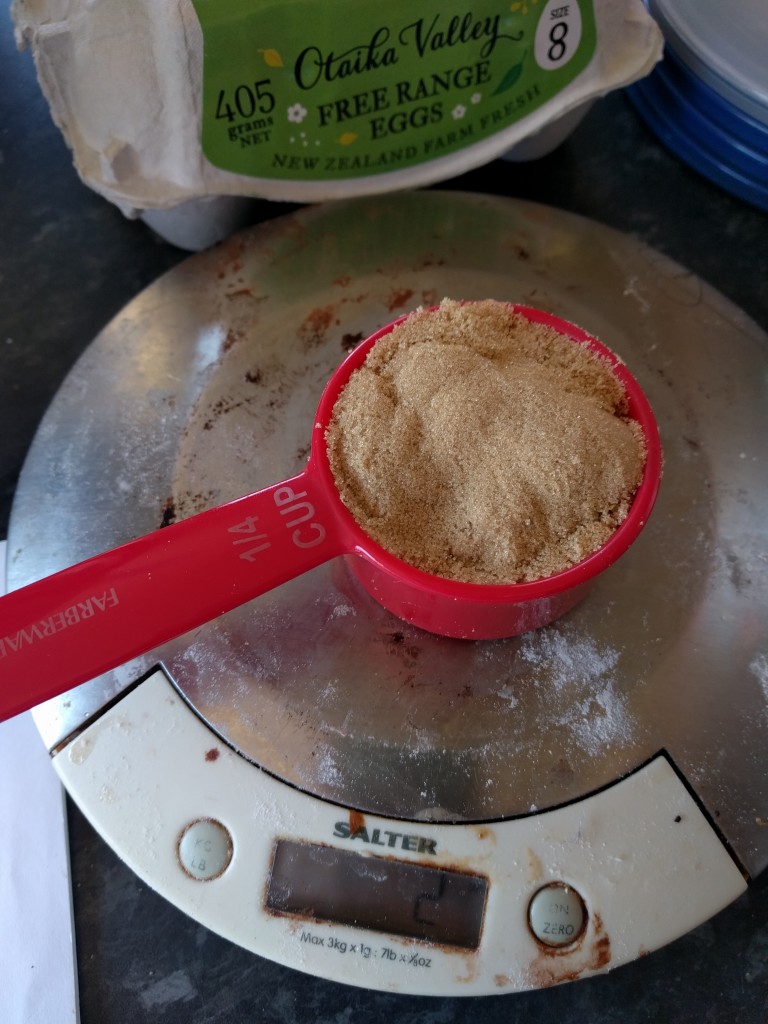
Brown Sugar (cue the Rolling Stones). Buying brown sugar if you’ve never done it can be a bit confusing. As people are getting more aware of their food or just a bit nerdy about it more options are showing up in the stores. There is light brown sugar, dark brown sugar, Muscovado sugar, ‘natural’ sugar, ‘raw’ sugar. You want light brown sugar. It should feel like slightly damp sand. That’s the molasses mixed with the sugar that makes it brown and gives it a unique taste. Yes you need both kinds of sugar. Don’t use coffee crystals.
What the hell does 1 Large Egg mean? I know there’s no really good gage for this. If you look at a bunch of eggs and go ‘That seems like a good sized egg’ go with that egg. There might be sizing on the egg cartons in your area, there might not.
Vanilla. Like with the brown sugar there are more options. One is Vanilla Flavouring. No. Just No. That’s like calling KoolAid fruit juice. Vanilla Extract is a bit better. It’s more of a tincture. Vanilla processed in alcohol to get the flavour. Vanilla paste is a lovely thing and it is my favourite in all baking but it is expensive. These days you can find a midpoint which is a vanilla extract with the vanilla seeds still mixed in. This will do you nicely.
All-Purpose Flour. When you’re shopping for flour you’ll often see High Grade or Bread flour, All-Purpose or Standard Flour, and Self Raising Flour. You can use high grade flour for cookies but you’ll get a slightly different texture. High Grade flour has more gluten so is used in heavier baking; breads and heavy cakes. Standard Flour is better for things like cookies. Do Not Use Self Raising Flour.
Baking Soda and Baking Powder are two very very different things. Do not mix them up.
Chocolate Chips. Chocolate is really one of those you get what you pay for things. Higher quality chocolate is going to cost you more. I prefer darker chocolate for cookies because it balances the sweetness of the bready part of the cookie. Nestlé Toll House semi-sweet chips was the standby for decades but as people are becoming more aware of what is out there in terms of chocolate other companies and groups are stepping in. Look around the fancier grocery stores or check online. You can get chips that are FairTrade, Rainforest Certified, Organic, GMO Free, with 80% Cacao content. If you have a favorite type of fancy chocolate that doesn’t put out chips that’s fine. Grab a few bars and something heavy. You’re going for about the size of small peas. Quick side note Carob Is Not Chocolate. It doesn’t taste like chocolate, it doesn’t act like chocolate, it’s not chocolate. If you think carob is chocolate both your taste buds and soul are dead. Don’t get nasty ass Carob anywhere near these cookies.
Okay, have you got all your ingredients? Are you sure? Double check. Okay, let’s get going.
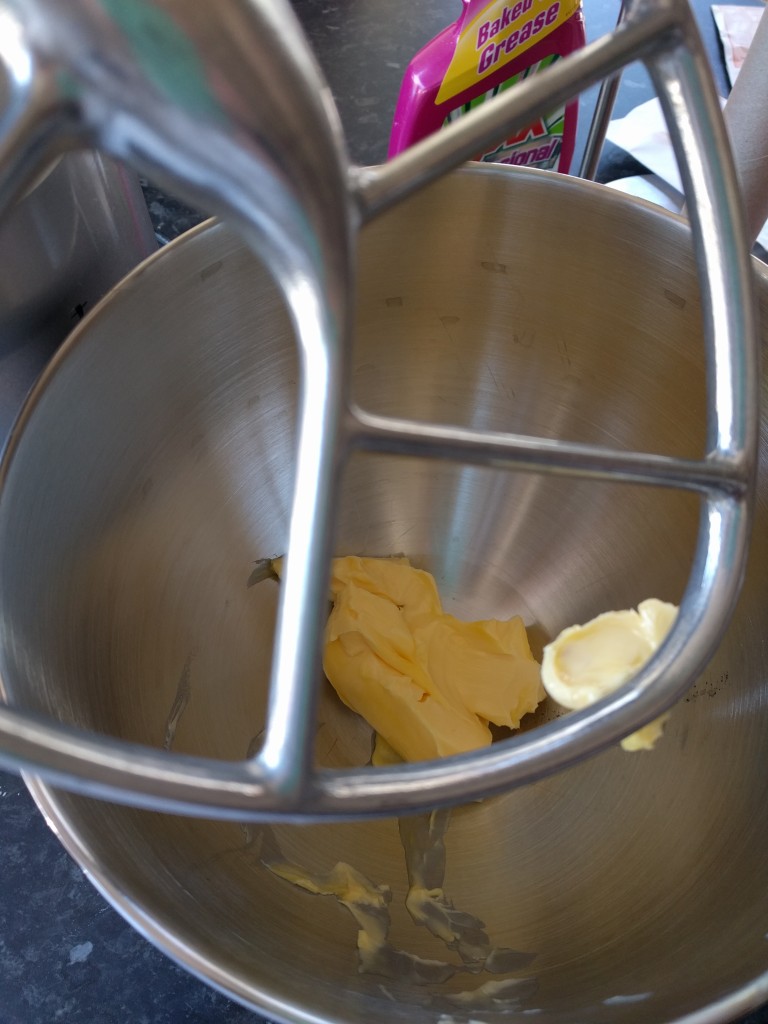
Step one. Cream butter and sugar. What? That is the first step in just about every cookie recipe. Unless stated otherwise the first step in just about any cookie is to mix the sugar and fat. It might be butter and sugar, it might be lard and maple syrup. Mix those two things first.
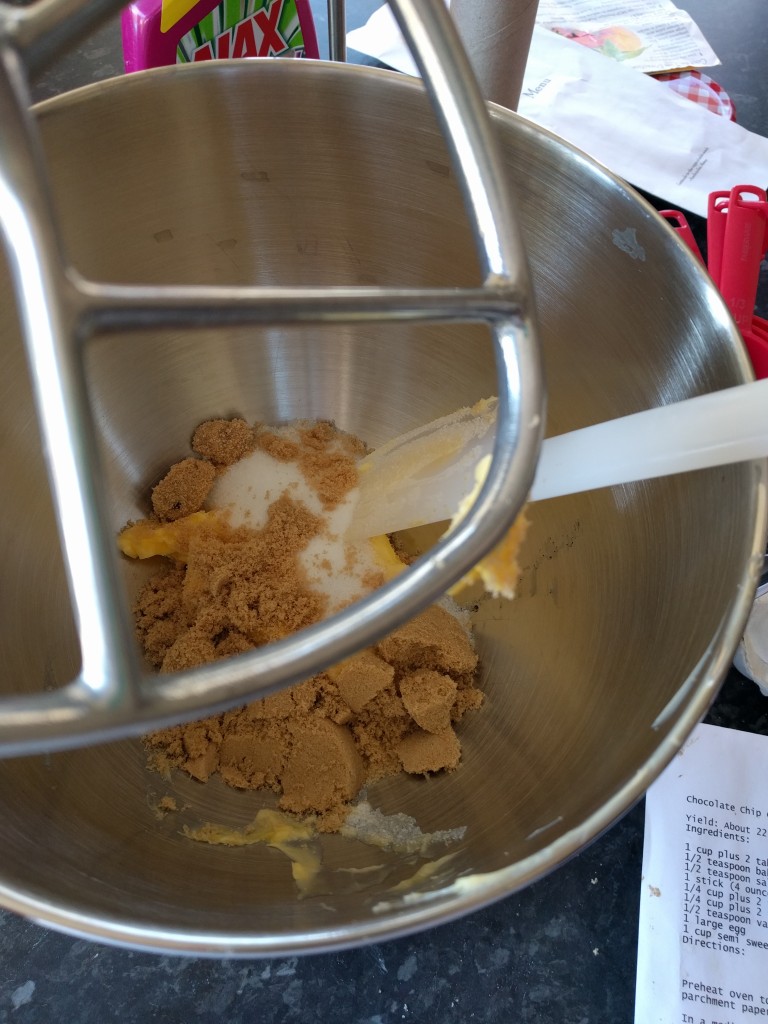
Use your kitchen scale (go get a kitchen scale) to measure out your butter then put it into your mixing bowl. Then measure out the white sugar and put it in as well. Next is the packed brown sugar. Brown sugar clumps and compresses. To make sure you have the full amount scoop up a quarter cup then use your hand to press it into the cup. If it doesn’t come to the top add a bit more and compress again. Add that to the mixer as well.
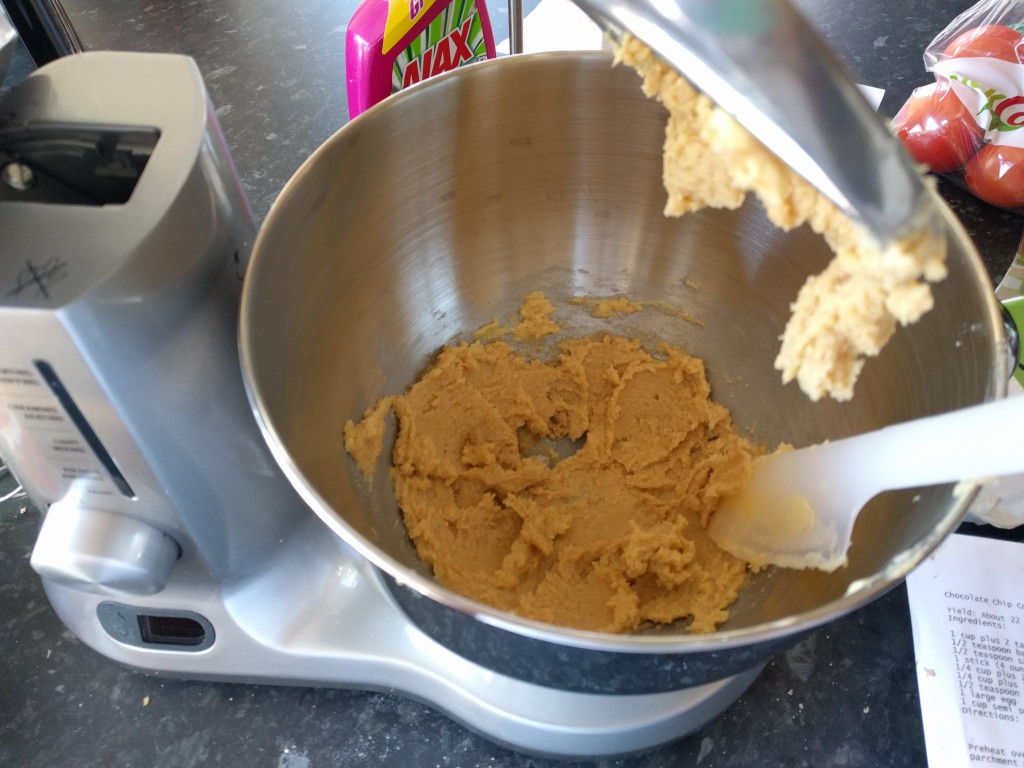
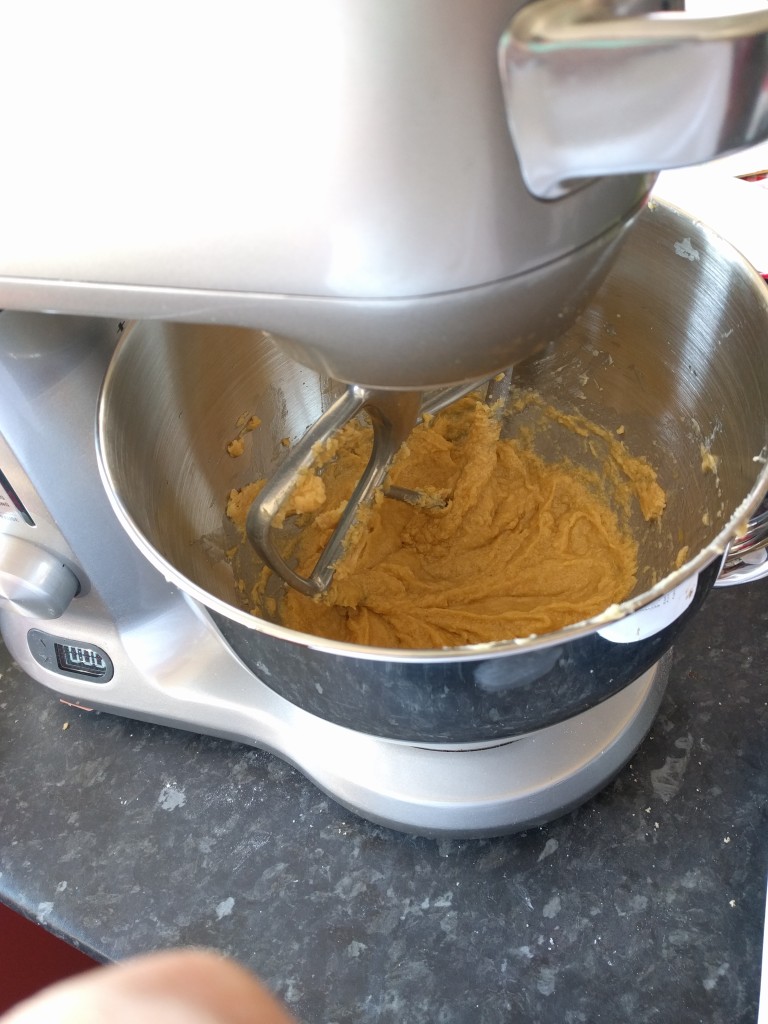
Put your mixer on the lowest setting and let it run for a minute. After a minute stop and run your spatula around the inside of the bowl. Even the best mixer will press some of the stuff to the sides and bottom of the bowl instead of mixing it in so you have to scrape it off and fold it back in. Turn the mixer back on for another minute or so until you have a nice smooth sugar and butter cream.
Next add the rest of the ‘wet ingredients’. This goes for all baking. Always mix the wet stuff together first unless directly told to do otherwise. If you drop it and it goes splat or splash it’s wet, and if it goes poof or crunch it’s dry. In this case it’s the vanilla and egg.
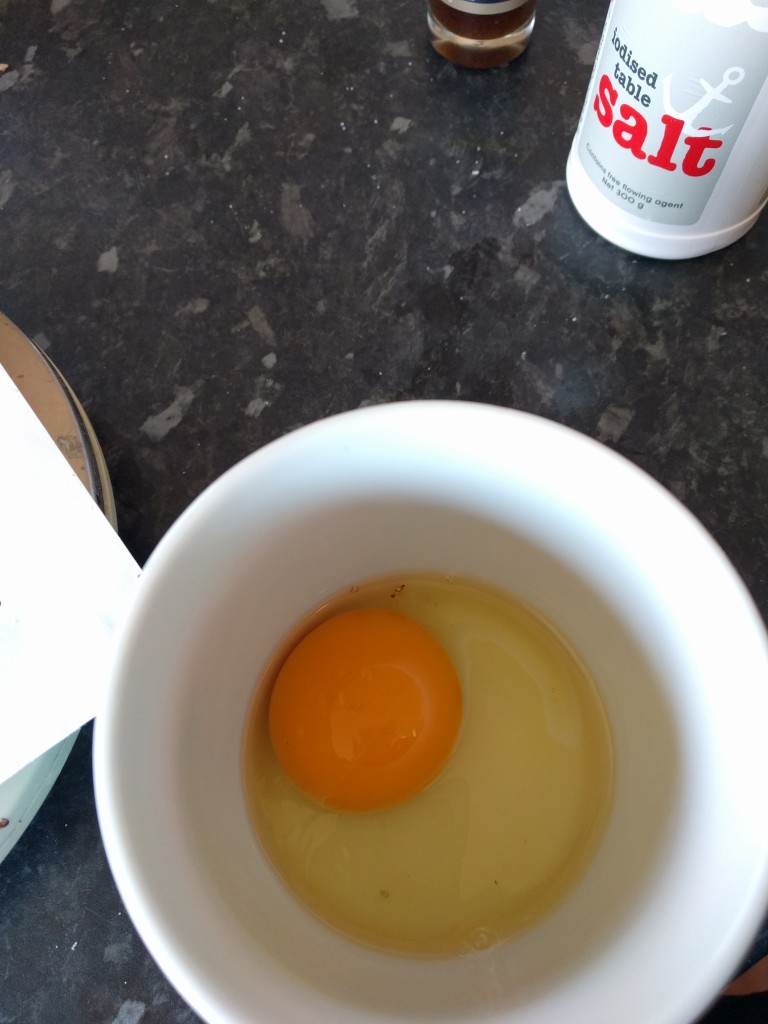
Crack the egg into a separate cup first. Always do this because the day you don’t will be the day you are in a hurry, almost out of ingredients, and will break a rotten egg right into your butter and sugar. Don’t say it won’t happen because I’ve done it. It’s also a lot easier to fish eggshells out of a cup than a mixing bowl.
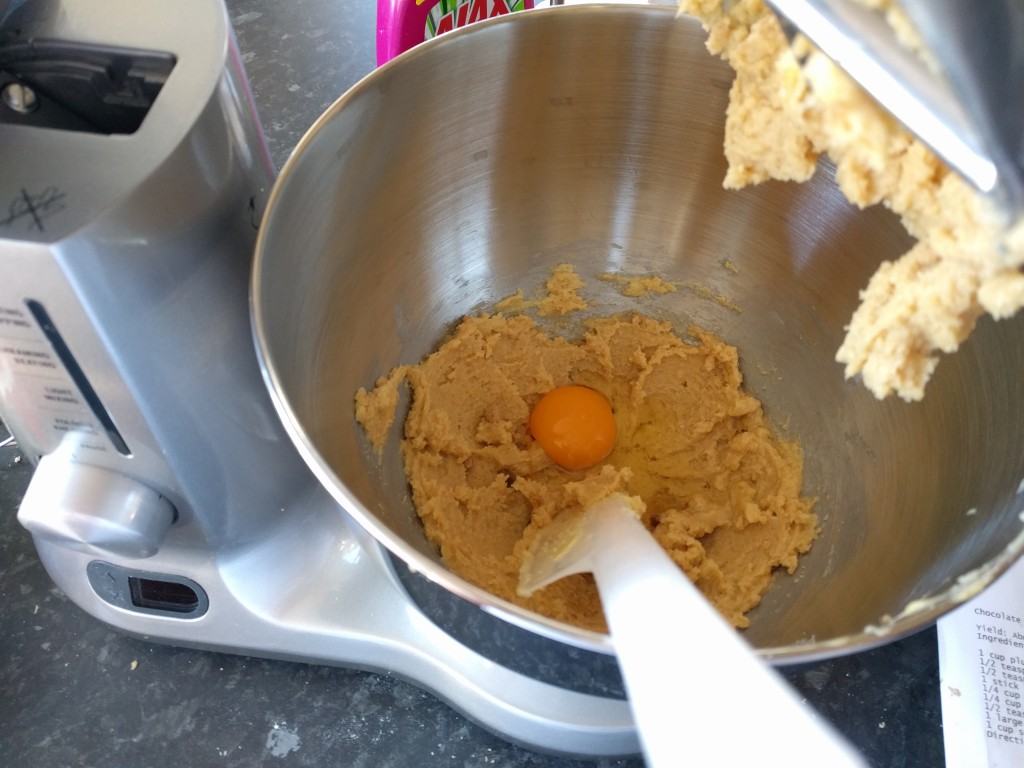
Put the non-rotten egg into your mixing bowl along with the vanilla and mix the batter on low for another couple of minutes or until the batter is even and smooth. I should probably legally tell you that you shouldn’t taste test cookie dough because it has raw eggs in it, or something like that.
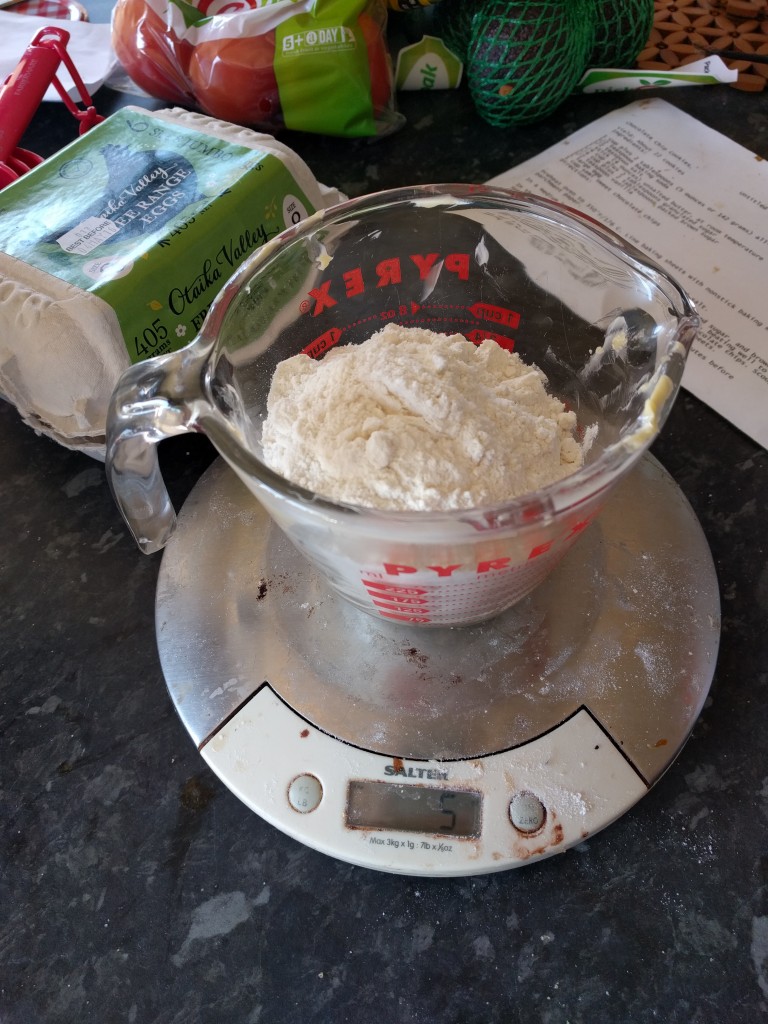
Get a separate bowl to measure all the dry ingredients into first. I gave you the flour amount as a weight because flour settles and compresses. Do a little experiment if you like. Get a cup and fill it with flour levelling off the top. Now start carefully shaking and tapping the cup like a small earthquake. You’ll see space start to appear at the top of the cup. If you fill in that space you will still have ‘a cup’ of flour but more flour than you need. In many recipes you’ll see directions for sifted flour. That means sift the flour first so it’s nice and loose before measuring it. You can also use this online calculator to convert volumes of different types of flour into weights.
If you’ve got gluten problems this is the flour mix I used for the brownie recipe in my Simmer anthology story. But if you’ve never baked cookies before it might be easier to get gluten free flour at the grocery store.
Once you have the flour measured out into a separate bowl add the salt and baking soda to it. Give it a quick stir so the salt and baking soda don’t get clumped into one little part of the cookie dough. Baking is chemistry and that salt and baking soda are very important parts.
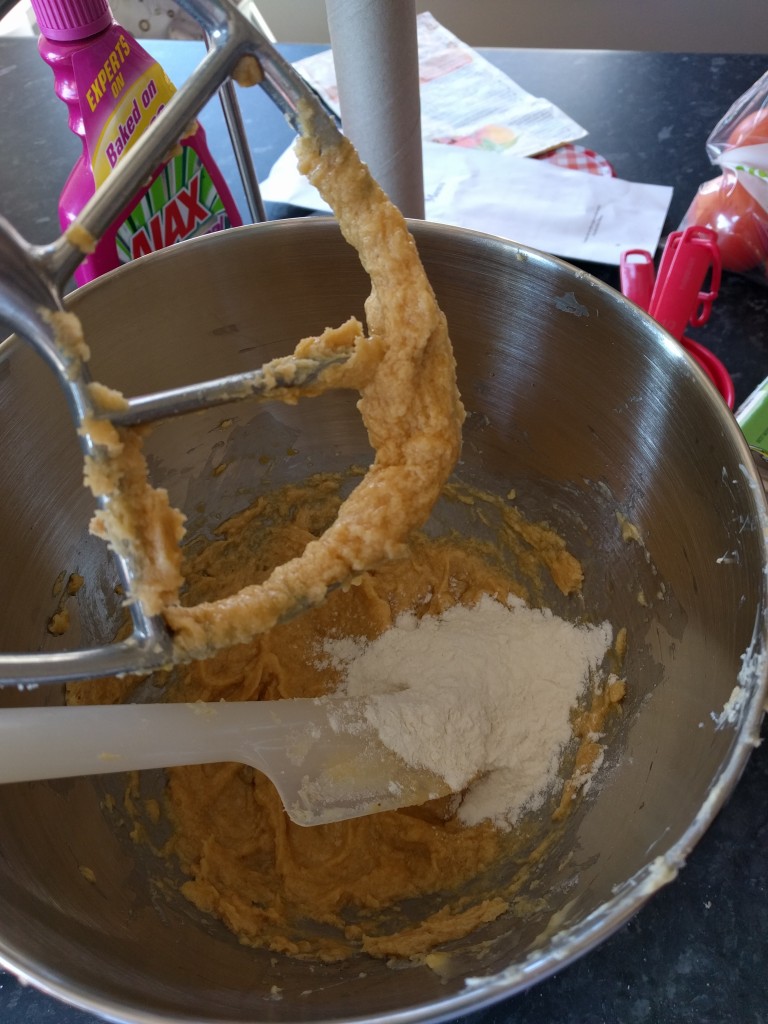
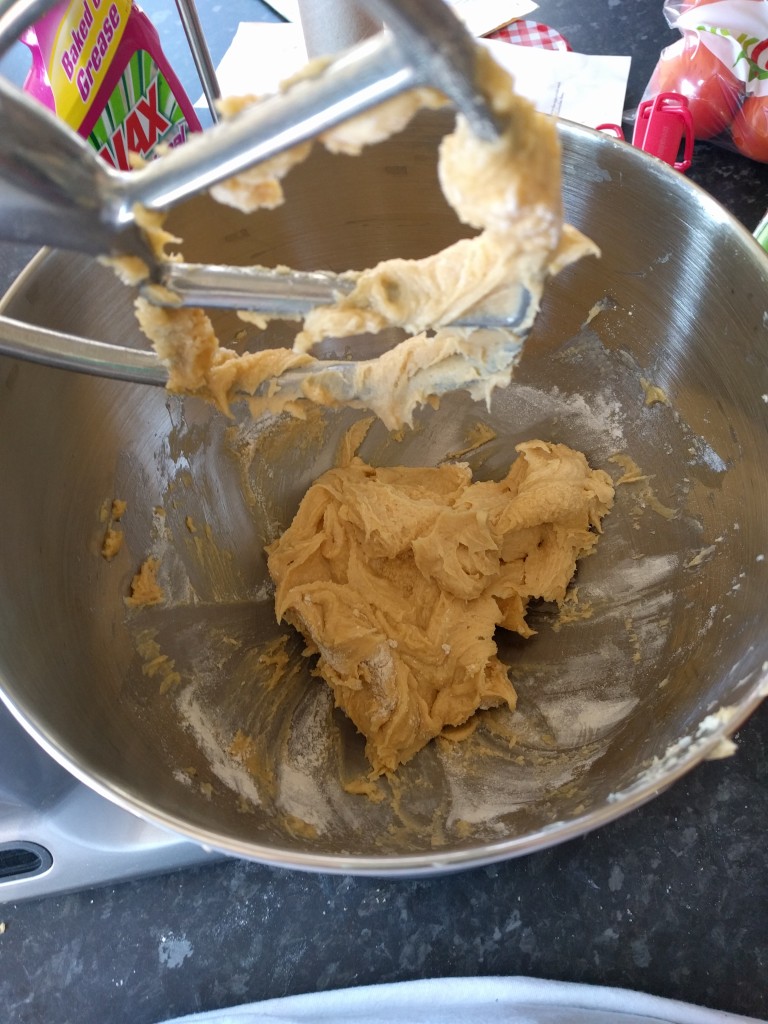
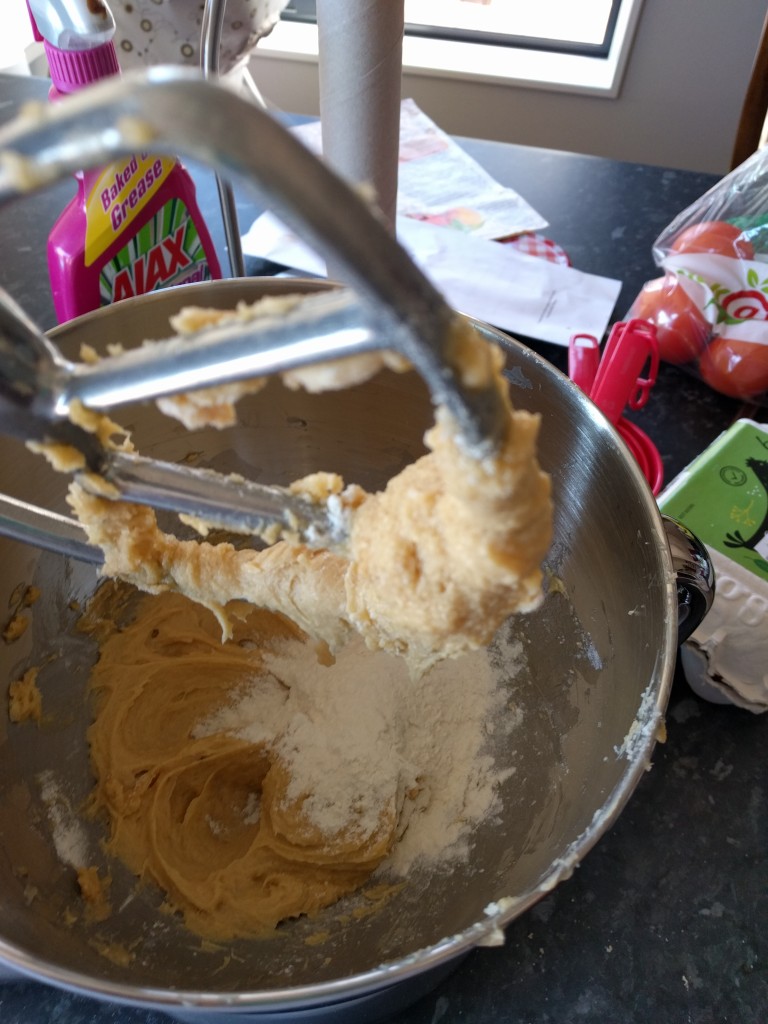
Time to add the flour/salt/soda mix into the dough a little bit at a time. If you simply dump all the flour in at once you are likely to get clumps of flour that don’t mix in and when you turn on the mixer you’ll get a poof and a cloud of flour in your face and all over your kitchen. Add about a quarter cup, put the mixer on low, when it all looks mixed together scrape the inside edges of the bowl then add another quarter cup. Repeat this until you have all the flour well mixed in. Be sure to scrape the bowl regularly.
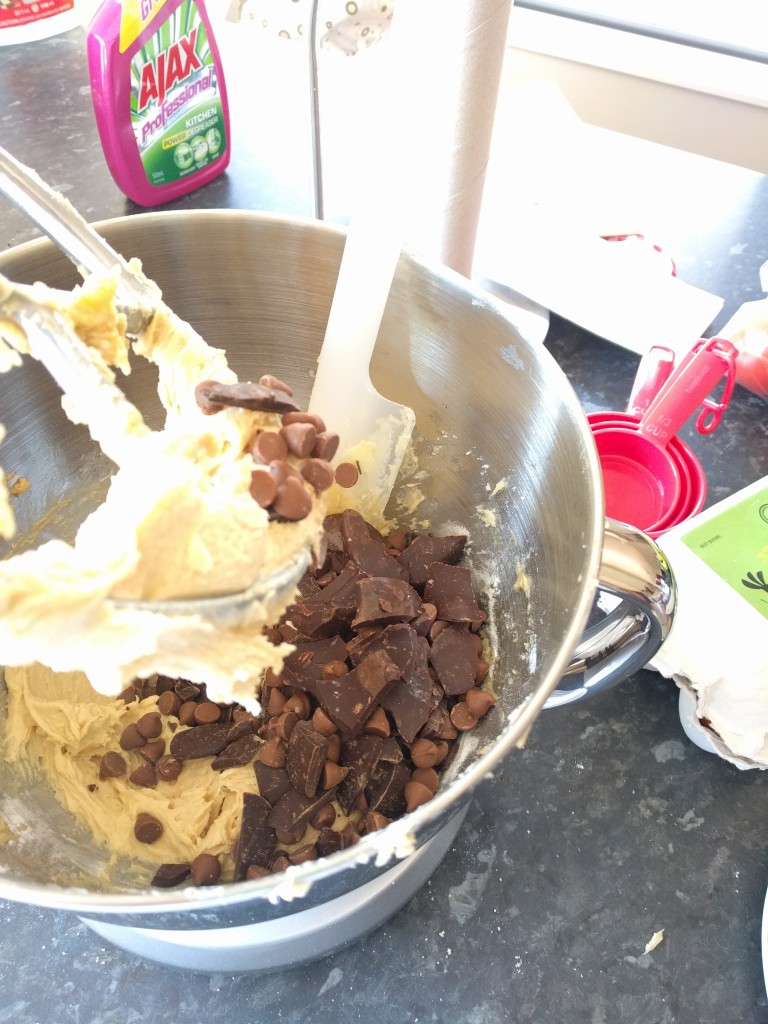
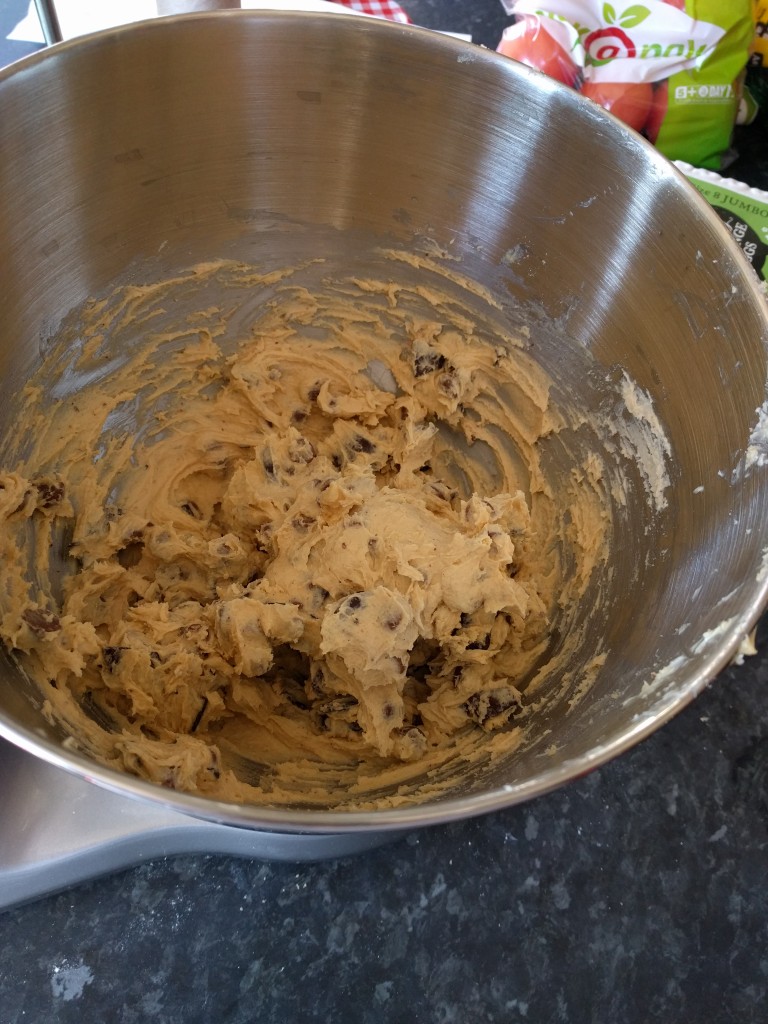
Then comes the last, yet defining, ingredient. The chocolate. One cup (plus maybe a little more). Mix it all in really well and if you’re willing to roll the dice on the whole raw egg thing take a taste.
Next, scrape out all that yummy dough into some sort of airtight container, put it into the fridge, and come back tomorrow.
What?
Yep. Cue the food science. Leaving the dough in the fridge for 24 hours gives the final product a richer depth of flavour. Something slightly caramelly. It also makes it a bit easier to work with the dough in terms of cookie size.

Romance author Wendy Sparrow, who is an aficionado of cookie dough carefully pushes the chips away from sides of the container so it just looks like leftover mashed potatoes, keeping it safe from others in the house.
24 Hours Later
Turn your oven onto bake at 350 Fahrenheit or 176 Celsius. Oven temperatures are never as accurate as you wish they were. All ovens run a little hot or cold. You can get a little thermometer that sits inside the oven to get you a more accurate result but most people just learn to take stuff out a few minutes earlier or later depending on their oven.
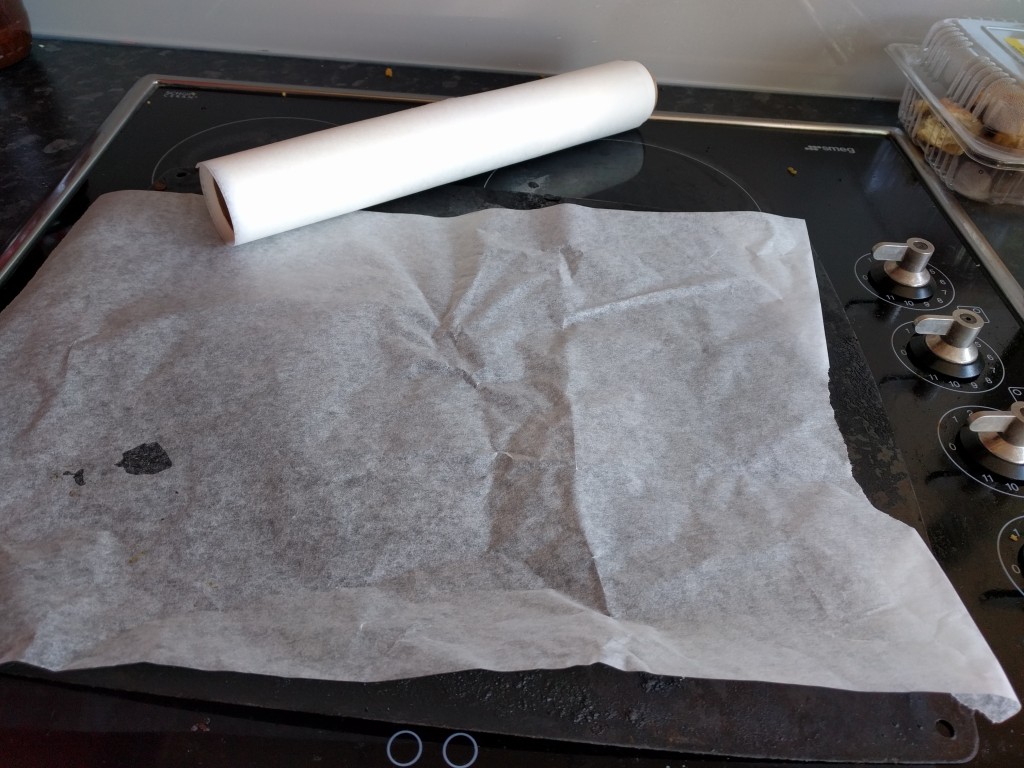
Get a cookie pan and put down a layer of parchment/baking paper. This is the best thing ever and I don’t know where it’s been all my life. No more oiling cookie pans. No more Splat Pads that get nasty after have a few uses. No more nonstick baking pans that only stay nonstick for about a week. Baking Paper. It’s sold next to the plastic wrap and foil. DO NOT USE WAXED PAPER. Your cookies won’t stick but they will taste like wax.
Let the cookie dough warm up enough that you can scoop it out.
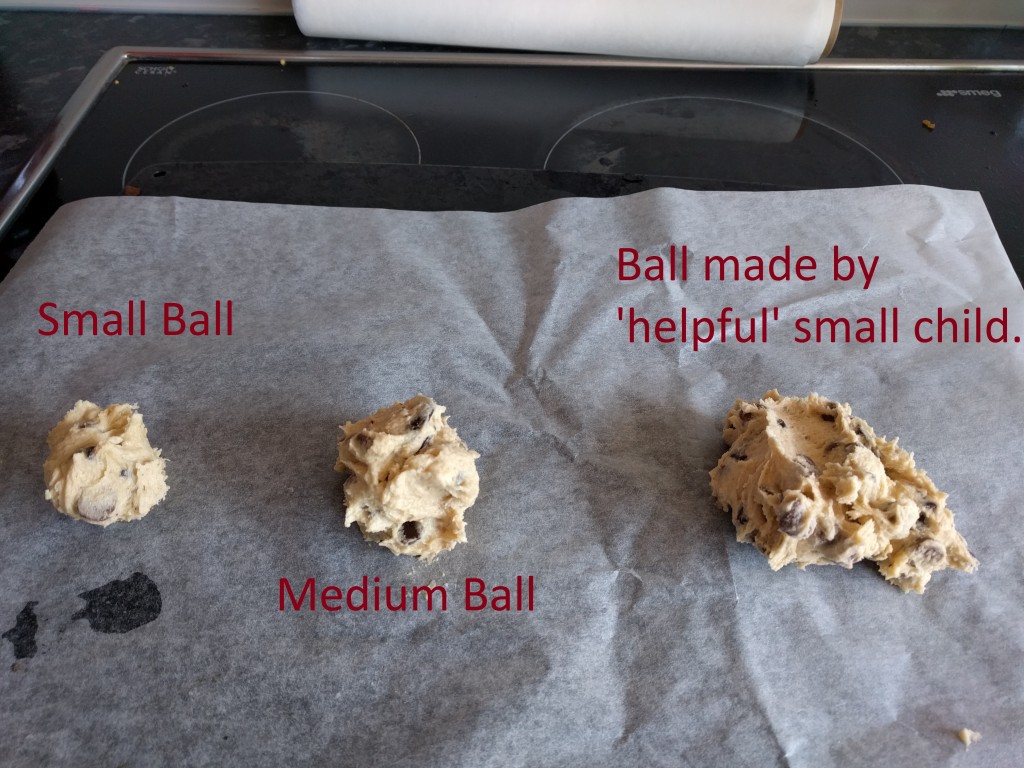
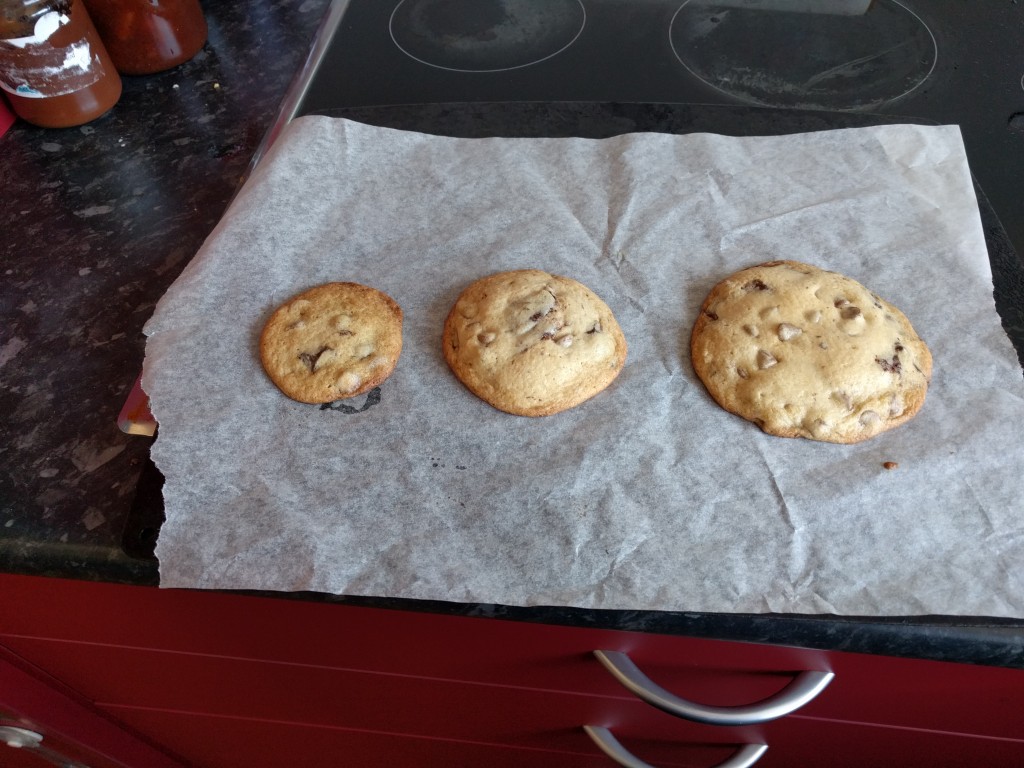
Now here is where you have options and you’ll wish you paid a bit more attention when your physics teacher was talking about thermodynamics. For me the ideal ball of cookie dough is a bit bigger than a standard size super ball. If your ball of dough is on the large size the outer edges will cook before the centre making it all a bit uneven. If the ball is too small it’ll just go flat, crunchy, and will burn easily. If you roll the chilled cookie dough into a ball with your hands it’ll compress the dough slightly making it harder for the heat to permeate but it will do it more evenly than if you just splat dough onto the pan. If you put them too close together they will merge into a giant mutant cookie.
Bake your cookies for 9-11 minutes. A larger cookie will need a little more time than a smaller one. If you open the oven to check every 30 seconds you’ll let the heat out and change how the cookie is baking. 30 seconds however can be the difference between browned and burnt. It’s best to err on the side of slightly undercooked because the residual heat will continue to bake the cookie as it cools.
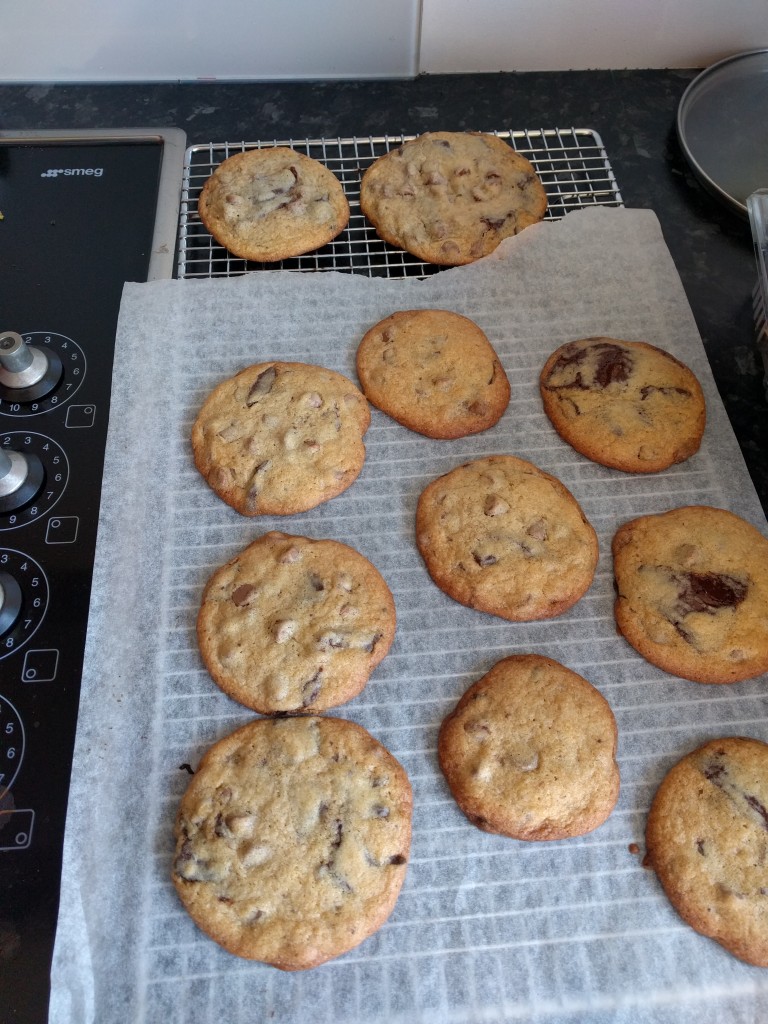
Once the tray is out use a thin spatula to carefully move each cookie to the cooling rack. If you can’t get them up without breaking them just pick up the baking paper and move the whole batch to the cooking rack.
Now wait, and watch. You’re waiting for the cookies to cool. You won’t have to wait too long but you don’t want to burn your fingers. Take a deep breath. Smell that cookie smell. That’s the real deal, not something sprayed into the air by cookie shops at the mall. That’s sugar and butter and chocolate mixed together by you, baked by you, created by you.
Are they cool enough to touch?
Okay, time to take a bite. Is it good? Is it warm and sweet with the chocolate melting and mixing on your tongue? Is it better than any cookie you’ve ever had? Fucking hell yes it is because you made it. You did that. That warm golden taste, that was all you. Go ahead and take another bite and own it. That’s not just a cookie you’re eating, that’s creation, that’s free will, that’s a giant fuck you to a society that wants you to believe that self-worth comes from a thigh gap and having the latest Apple gizmo.
Go ahead and have another then take a few to your neighbours or your friends. Hold them out and proudly say-
“I made these.”
~~~~~~~~~~~~~~~~~~~~~~~~~
Serious Eats and Handle the Heat both did major experimental tests on various recipe permutations for chocolate chip cookies. They are worth a read.
